
Walls are the part of the house nobody thinks to clean until they actually look at them. Fingerprints by the light switch, a greasy haze near the stove, scuff marks by the stairs—it builds up slowly enough that you stop noticing it, until a guest does. The good news is that cleaning walls is simple once you know what you’re dealing with. The tricky part is doing it without stripping the paint or leaving streaks behind, which is where most people go wrong.
This guide walks through the right way to clean painted walls in any room of a Green Bay or Madison home, plus what changes if you’re dealing with a bathroom, a kitchen, a garage, or a house that just came out of a renovation. If your walls are white, the same steps apply—you’ll just want to be a little more careful about testing your solution first, since discoloration shows up faster on a light wall than a dark one.
What You’ll Need
- Soft microfiber cloths or sponges — non-abrasive, so they won’t scuff the paint finish.
- Two buckets — one for your cleaning solution, one for clean rinse water.
- A long-handled duster or vacuum brush attachment — for dust and cobwebs before you ever add water.
- Mild dish soap — the base of almost every wall-safe cleaning solution.
- White vinegar — for tougher grime, though not every wall can handle it (more on that below).
- Baking soda — for scuffs and stains that soap and water can’t lift.
- Rubber gloves and old towels — to protect your hands and catch drips along the baseboards.
How to Clean Walls the Right Way
Start dry. Run a duster or the brush attachment on your vacuum over the walls first, top to bottom, to knock down dust and cobwebs before anything gets wet. Skipping this step is the number one reason walls end up streaky—wet dust just turns to mud and smears.
Once the wall is dust-free, mix a small amount of mild dish soap into a bucket of warm water. Dip a soft sponge or microfiber cloth in the solution and wring it out until it’s barely damp, not dripping. Work top to bottom. Starting at the top and washing downward means any drips run onto a section you’re about to clean anyway, instead of streaking down a spot you already finished. Rinse with a second cloth dipped in plain water, then dry with a towel so moisture doesn’t sit in the seams or corners.
Work in small sections—about two feet at a time—and always test your solution on a hidden spot first, like behind a piece of furniture. If the paint holds up with no discoloration, you’re clear to keep going.
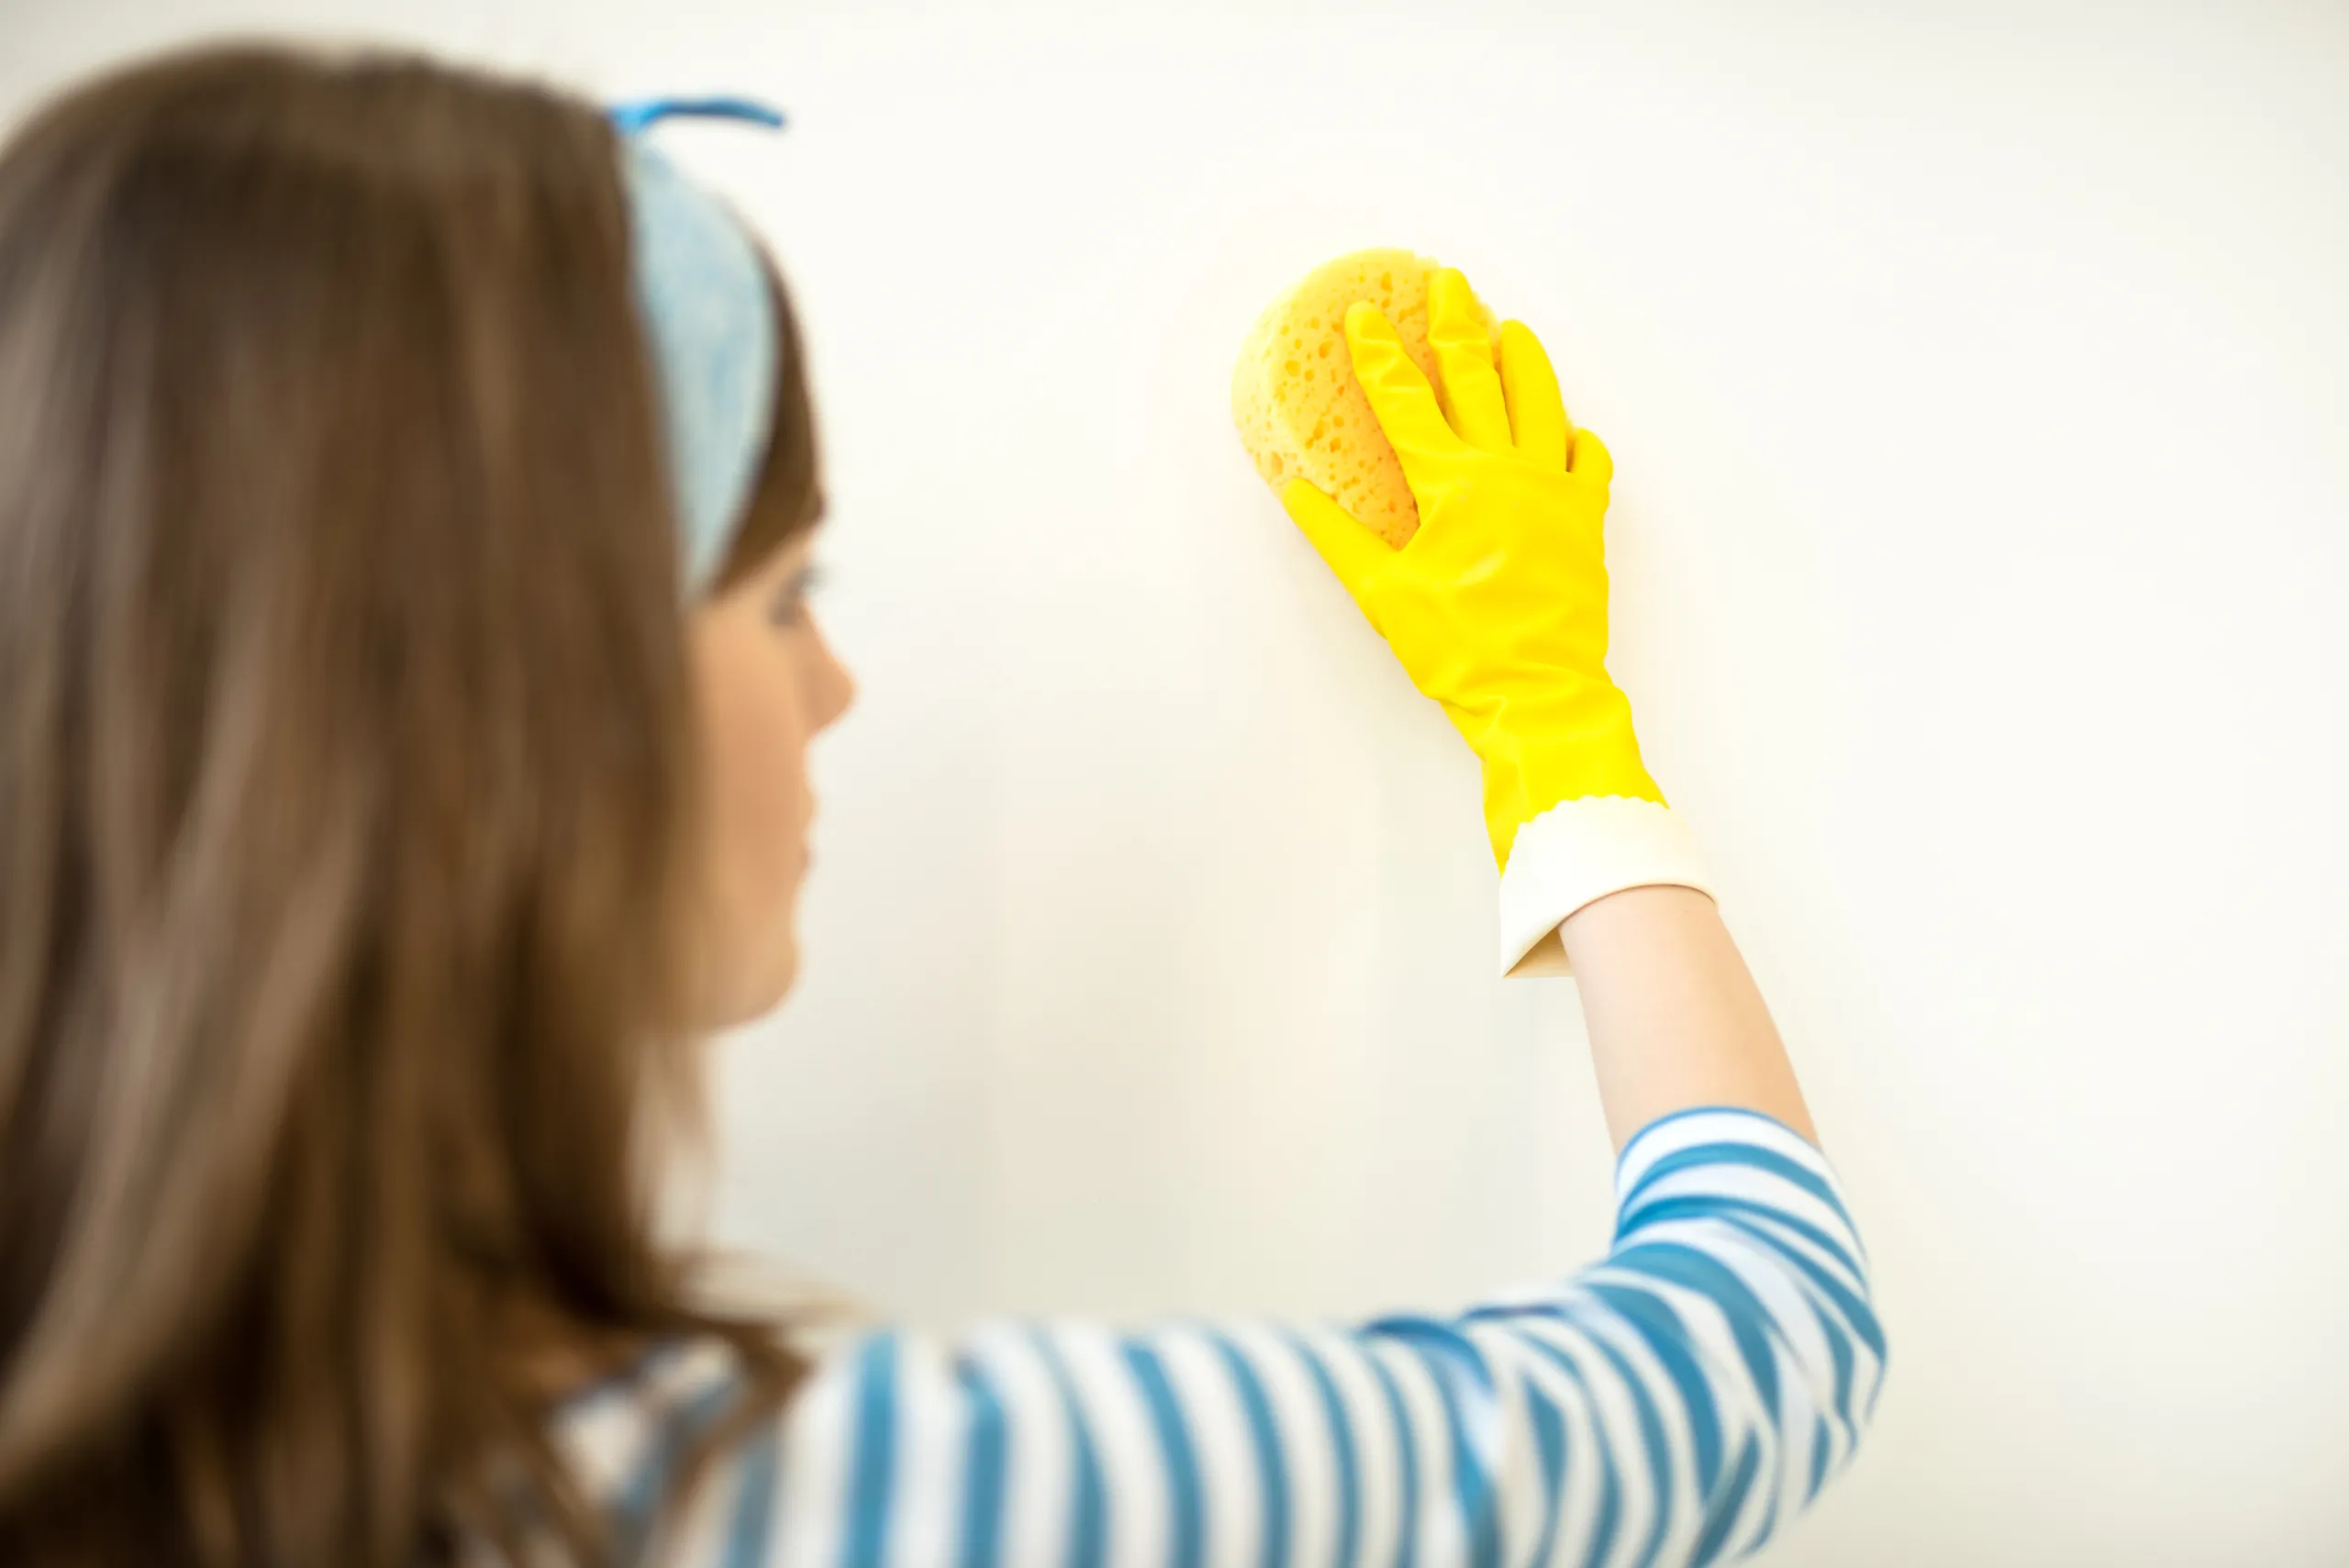
How to Clean Painted Walls Without Removing the Paint
Not all paint handles cleaning the same way, and this is where a lot of people accidentally do damage—scrubbing too hard, using the wrong cleaner, or picking a solution that’s too strong for the finish. The key to cleaning painted walls without damaging them is matching your method to the type of paint you have.
- Flat and matte finishes are the least forgiving. They scuff and dull easily, so stick to plain water or a very mild soap solution, and never scrub—just gentle, circular wiping.
- Eggshell and satin finishes hold up better and can handle a slightly stronger soap-and-water mix without losing their sheen.
- Semi-gloss and high-gloss finishes are the toughest and most common in kitchens and bathrooms for exactly that reason. They can take a firmer wipe and even a light vinegar solution when needed.
If you’re not sure what finish is on your walls, treat them like flat paint until you’ve tested a hidden spot. It’s easier to work up to a stronger cleaner than to fix a wall you scrubbed too hard. This matters even more when you’re cleaning white walls, since any streaking, dulling, or color change is far more noticeable against a light background than it would be on a darker wall.
Cleaning Walls Room by Room
The general method above covers most walls in the house, but a few rooms need a different approach.
Bathroom Walls
Bathroom walls deal with humidity, water spots, and mold more than any other room. Wipe them down with a dry towel after showers to cut down on condensation, and run the exhaust fan during and after bathing. If mold has already started in corners or near the tub, a solution of water and a fungicidal cleaner works better than soap alone—just skip vinegar on ceramic tile, since the acid can dull the glaze.
Kitchen Walls
Grease is the main problem in kitchens, especially on the wall behind the stove. A mix of warm water and a few drops of dish soap cuts through most everyday grease. For a wall that’s gone a while without attention, add a splash of white vinegar to the solution—it breaks down grease film without leaving the wall sticky.
Garage Walls
Garage walls are usually bare concrete or block, which means they can take a firmer scrub than painted drywall. Sweep off loose dust first, then use a stiff brush with a soap-and-water solution for tire marks, oil residue, or general grime. Concrete holds onto stains, so don’t be surprised if it takes a couple of passes to lift something that’s been there a while.
Basement and Plaster Walls
Older Wisconsin homes often have plaster instead of drywall, and plaster is more porous and prone to staining from moisture. Keep the cloth barely damp, work in small sections, and address any dampness or musty smell separately—cleaning over a moisture problem just masks it temporarily.
How to Prep Walls Before Painting
If you’re cleaning walls to get them ready for a fresh coat of paint, the goal is different: you’re not just making them look nice, you’re making sure new paint actually sticks. Dust and light grease left behind can cause peeling or uneven coverage down the road.
- Wipe down the entire wall with a mild soap-and-water solution, focusing on areas near light switches, doorframes, and baseboards where hand oils build up.
- Rinse with a clean, damp cloth to remove any soap residue—leftover soap film can keep paint from bonding properly.
- Let the wall dry completely before taping or priming. Painting over a damp wall is one of the most common reasons a paint job doesn’t hold up.
- Lightly sand any rough or glossy spots so the new paint has something to grip.
How to Clean Walls After a Renovation or Construction Project
Post-renovation walls are a different job entirely. Drywall dust settles into every seam and corner, and it’s fine enough that a regular wipe-down just spreads it around instead of removing it. Vacuum the walls first with a brush attachment before introducing any water—this pulls out the bulk of the dust instead of turning it into paste. Once the dry dust is gone, go over the walls with a barely damp microfiber cloth, working in small sections and rinsing the cloth often so you’re not just moving dust from one spot to another.
If the renovation involved an older home, it’s worth being cautious around any dust from sanding or scraping, since it can carry lead depending on the age of the house. When in doubt, it’s safer to bring in a professional post construction cleaning crew who knows how to handle that safely, rather than guessing.
For a full breakdown of tackling the rest of the house after a remodel—floors, fixtures, and all—our guide on how to clean your house after renovation walks through it room by room.
Removing Common Wall Stains
Nicotine Stains
Nicotine leaves a yellowish film that plain soap and water usually won’t touch. A solution of warm water, a few drops of dish soap, and a splash of white vinegar cuts through it—apply with a soft sponge, let it sit for a minute, then wipe clean and rinse.
Soot and Smoke Marks
Dry-clean first with a soot sponge or dry microfiber cloth before adding any water—wetting soot right away tends to smear it deeper into the paint. Once the dry residue is lifted, a mild soap solution handles what’s left.
Mold and Mildew
For small spots, a solution of water and a fungicidal cleaner will kill the mold and help prevent it from coming back. If mold covers a large area or keeps returning after cleaning, that’s usually a sign of a moisture problem behind the wall that cleaning alone won’t fix.
Grease Stains
Warm water with a few drops of dish soap lifts most grease. For stubborn spots near stoves or light switches, a paste of baking soda and water gives you a little extra scrubbing power without risking the paint.
How Often Should You Clean Your Walls?
Most walls only need spot-cleaning as marks appear—there’s no need to wash an entire room on a fixed schedule. That said, a full wall wipe-down once or twice a year, especially in high-traffic hallways, kitchens, and bathrooms, keeps dust and grime from building up to the point where it needs serious scrubbing.
When to Call Professional Cleaning Services
Some jobs are worth handing off, especially if the walls haven’t been touched in years, you’re dealing with mold that keeps coming back, or you just don’t have the time to do it room by room. Badger Luxe Cleaning’s team is background-checked, trained, and uses eco-friendly products that are safe for homes with kids and pets. Whether it’s part of a deep cleaning visit, folded into a recurring cleaning plan, or a one-time job after a renovation with our post construction cleaning service, we build the plan around what your home actually needs instead of a generic checklist.
Give us a call at (920) 777-9609 or grab a free quote online to get your walls—and the rest of your home—looking the way they should.
FAQ
Can I use vinegar on all my walls?
Not always. Vinegar works well on painted walls and most grease or grime, but skip it on natural stone or oil-based paint finishes, since the acid can dull or damage them. Test a hidden spot first if you’re unsure.
Why do my walls streak after I clean them?
Streaking almost always comes from one of three things: not dusting first, using too much water, or scrubbing too hard. Dust dry, keep your cloth barely damp, and use light, circular motions instead of pressure.
Should I wash walls before or after painting?
Always before. A clean, dry, grease-free wall gives new paint something solid to bond to. Skipping this step is one of the most common reasons a paint job peels or looks uneven within a year.
How do I clean walls without removing the paint?
Stick to the gentlest method that works: dust first, use a barely damp cloth, and start with plain water or a very mild soap solution before reaching for anything stronger. Flat and matte finishes are the most likely to come off with too much scrubbing, so go easy on those in particular and always test a hidden spot before cleaning a visible one.
How do I clean textured or popcorn walls without damaging them?
Textured surfaces need a lighter touch than flat drywall—stick to dry dusting with a vacuum brush attachment whenever possible, since scrubbing can knock texture loose. For a full breakdown of the safest way to handle textured surfaces, see our guide on cleaning a popcorn ceiling.
Is it normal for plaster walls to feel damp after cleaning?
A little dampness right after cleaning is normal and should dry within an hour or two. If a wall stays damp longer than that or you notice a musty smell, it’s worth checking for a moisture issue behind the wall rather than continuing to clean over it.